

Optimal Travel Photography Camera Settings for Capturing the World

There’s something magical about wandering through new places, camera in hand, ready to capture moments that might never come again. I often find myself lost in the gentle hum of a bustling market or the quiet majesty of a sunrise over ancient ruins, wondering how best to translate those feelings into a photograph. Over time, I’ve learned that while the perfect shot depends on the scene and the light, having a solid grasp of travel photography camera settings can make all the difference between a snapshot and a story told through images. So, let’s take a leisurely stroll through the essential settings that help me capture the world in all its vibrant, fleeting glory.
Finding Your Groove with Travel Photography Camera Settings
When I first started traveling with my camera, I was overwhelmed by the sheer number of settings and options. Aperture, shutter speed, ISO - it felt like learning a new language. But the beauty of travel photography is that it’s flexible. You don’t need to be a technical wizard to get great shots, but understanding a few key settings can elevate your images from “meh” to memorable.
One of my favorite go-to settings is shooting in Aperture Priority mode. This lets me control the depth of field, which is crucial when I want to isolate a subject against a blurry background or keep everything in sharp focus. For example, when I’m photographing a colorful street vendor’s wares, I’ll open up the aperture to around f/2.8 or f/4 to make those vibrant fruits pop against a soft, indistinct backdrop. On the other hand, when I’m capturing sweeping landscapes or architectural marvels, I dial the aperture down to f/8 or f/11 to keep everything crisp from foreground to horizon.
ISO is another setting that I treat like a delicate spice - a little goes a long way. I try to keep it as low as possible, usually around 100 or 200, to avoid grainy images. But when the light dips, like during a golden hour stroll or inside a dimly lit temple, I’m not afraid to bump it up to 800 or even 1600. Modern cameras handle higher ISO surprisingly well, so don’t be shy about pushing it when the moment calls for it.
Shutter speed is where things get playful. If I want to freeze a moment - say, a street performer mid-leap or waves crashing against rocks - I’ll crank it up to 1/500 or faster. But sometimes, I love the dreamy blur of motion, like the soft flow of a waterfall or the bustling blur of a crowd. For those, I slow the shutter down to 1/15 or even a few seconds, using a tripod or steady surface to keep the rest of the image sharp.

Mastering Light and Focus: The Heart of Travel Photography Camera Settings
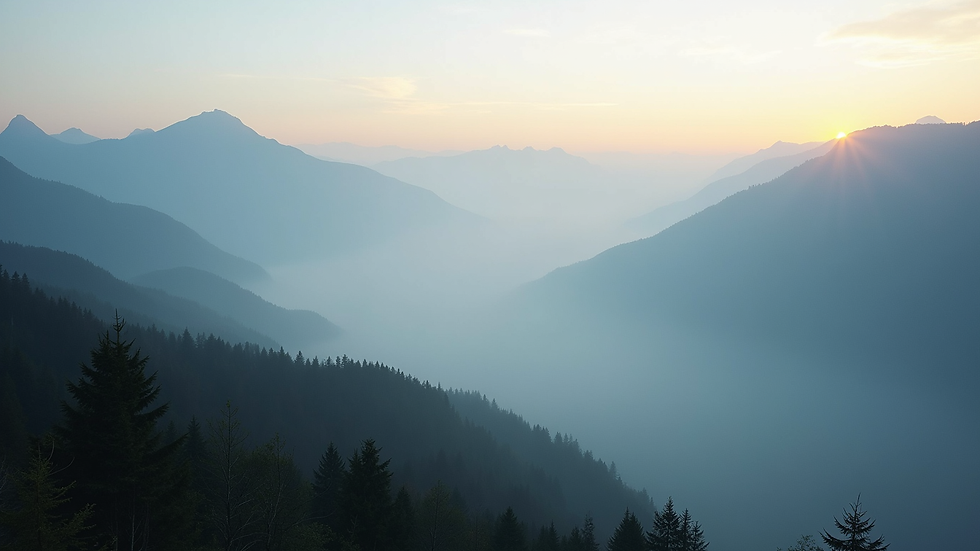
Light is the soul of photography, and travel photography is no exception. I’ve learned to chase the light rather than the location sometimes, because the same scene can look utterly different depending on the time of day and weather. Early mornings and late afternoons offer that soft, golden glow that makes everything feel warm and inviting. Midday sun, harsh and direct, can be tricky but also offers opportunities for bold shadows and contrast.
One setting that I always keep an eye on is white balance. Auto white balance usually does a decent job, but when I’m shooting in tricky lighting - like under neon signs or inside candlelit chapels - I switch to manual or preset modes to keep colors true to life. Nothing ruins a perfect shot like a weird color cast that makes the scene look unnatural.
Focus mode is another subtle but important setting. For most travel shots, I use single-point autofocus because it lets me choose exactly where I want the sharpest detail. When I’m photographing a landmark or a person, I place the focus point right on the subject’s eyes or the most interesting detail. For fast-moving scenes, like street festivals or wildlife, continuous autofocus helps keep things sharp even when the subject is darting around.
And here’s a little secret I’ve picked up: don’t be afraid to switch to manual focus when the autofocus struggles, especially in low light or when shooting through obstacles like fences or glass. It’s a bit slower, but the control is worth it.
What is the 80 20 rule in photography?
Ah, the 80 20 rule - a concept that’s as useful in photography as it is in life. It suggests that roughly 80% of your best photos come from 20% of your efforts. In other words, focusing on a few key techniques and settings can yield the majority of your great shots. For me, this means mastering a handful of camera settings and compositional tricks rather than trying to perfect every possible option.
For example, I’ve found that nailing aperture, ISO, and shutter speed in various lighting conditions covers most scenarios I encounter while traveling. I don’t obsess over every little dial or menu option. Instead, I spend more time observing the scene, waiting for the right moment, and experimenting with angles and perspectives. This approach keeps photography fun and spontaneous, which is exactly what travel is all about.
The 80 20 rule also reminds me to be selective with my shots. Instead of snapping hundreds of photos, I try to capture fewer but more meaningful images that tell a story or evoke a feeling. It’s quality over quantity, and it’s a mindset that has transformed my travel photography.
Practical Tips for Adjusting Your Camera Settings on the Go
Travel photography often means moving fast and adapting to changing conditions. Here are some practical tips I’ve picked up to help you adjust your camera settings quickly and confidently:
Preset your camera for common scenarios - I have custom modes saved for landscapes, portraits, and low light. Switching between them is faster than fiddling with individual settings.
Use exposure compensation - When shooting in tricky light, like backlit scenes or snow, dial in +1 or -1 stops to avoid under or overexposure.
Shoot in RAW - This gives you more flexibility in post-processing, especially for recovering details in shadows and highlights.
Keep your lens clean and ready - Dust and smudges can ruin a shot, so I carry a microfiber cloth and clean my lens regularly.
Practice manual mode occasionally - It’s a great way to understand how aperture, shutter speed, and ISO work together, even if you mostly shoot in semi-auto modes.
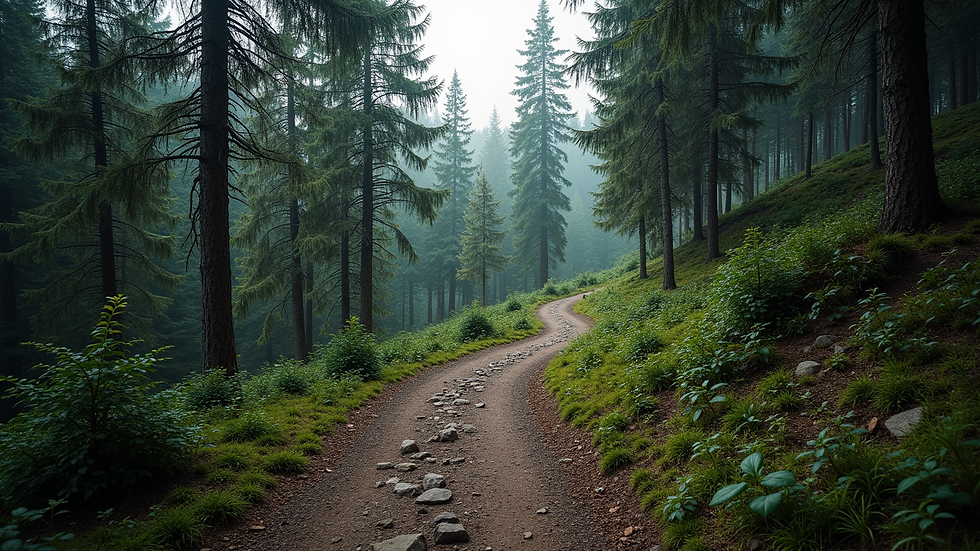
One time, while exploring a misty mountain village, I switched to manual mode to capture the delicate fog rolling through the trees. Adjusting the shutter speed to a slower setting allowed me to create a soft, ethereal effect that perfectly matched the mood. Moments like that remind me why knowing your camera settings is so rewarding.

Embracing the Journey: Your Camera as a Storyteller
At the end of the day, the best camera settings for travel photography are the ones that help you tell your story. Whether it’s the vibrant chaos of a street market, the serene beauty of a sunset, or the intricate details of a historic monument, your camera is a tool to share your unique perspective with the world.
I often remind myself that technical perfection is less important than capturing the feeling of a place. Sometimes, that means embracing imperfections like motion blur or grainy shadows because they add character and authenticity. Other times, it means patiently waiting for the perfect light or angle to reveal something new.
If you’re curious to dive deeper into the technical side, I recommend exploring resources that focus on camera settings for travel photography to build your confidence and expand your creative toolkit. But don’t forget to enjoy the process - photography is as much about seeing the world with fresh eyes as it is about the final image.
So next time you set out on an adventure, take a moment to breathe, observe, and experiment with your camera settings. Let your curiosity guide you, and remember that every click is a step in your own visual journey.
Happy shooting!

Comments